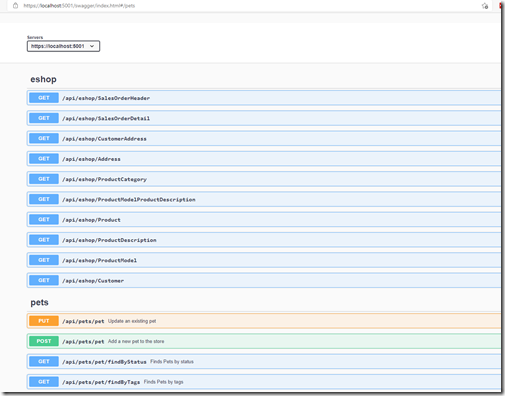
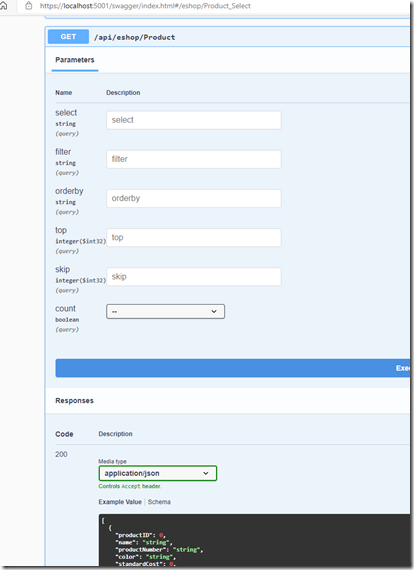
 Recently I blogged about API Framework, an open source project which aims to make building ASP.NET Core backends more flexible. One of the core functionalities API Framework provides is the ability to add new endpoints to the backend runtime, without having to rebuild and restart the system. This blog introduces how this can be done.
The Goal
The goal is to have ASP.NET Core based app which can add new endpoints using an UI. When a new endpoint is added, we want the backend’s OpenAPI document to automatically update.
Source Code
The source code for this blog post is available from GitHub: https://github.com/weikio/ApiFramework.Samples/tree/main/misc/RunTime
The Starting Point
We use ASP.NET Core 3.1 Razor Page application as a starting point. The template has been modified so that we can use Blazor components inside the Razor Pages. Blazor documentation provides a good step-by-step tutorial for this.
1. Adding API Framework
API Framework (AF) is the tool which allows us to add and remove endpoints runtime. API Framework is available as a Nuget package and there is a specific package which works as a good starting point for ASP.NET Core Web API projects in 3.1 apps but as we want to include Razor Pages, Blazor components and controllers inside a single ASP.NET Core app, it’s better to use the Weikio.ApiFramework.AspNetCore package.
The package which we want to add is Weikio.ApiFramework.AspNetCore. The current version is 1.1.0 so let’s add that to the application in addition to NSwag:
  <ItemGroup>
    <PackageReference Include="Weikio.ApiFramework.AspNetCore" Version="1.1.0"/>
    <PackageReference Include="NSwag.AspNetCore" Version="13.8.2" />
  </ItemGroup>
Then Startup.ConfigureServices is changed to include controllers, AF and OpenAPI documentation (provided by NSwag):
        public void ConfigureServices(IServiceCollection services)
        {
            services.AddRazorPages();
            services.AddServerSideBlazor();

            services.AddControllers();
            services.AddApiFramework();
            services.AddOpenApiDocument();
        }
And finally Startup.Configure is configured to include Controllers and Blazor & OpenAPI. AF uses the default controller mappings:
        public void Configure(IApplicationBuilder app, IWebHostEnvironment env)
        {
            app.UseDeveloperExceptionPage();

            app.UseHttpsRedirection();
            app.UseStaticFiles();

            app.UseRouting();

            app.UseAuthorization();

            app.UseOpenApi();
            app.UseSwaggerUi3();

            app.UseEndpoints(endpoints =>
            {
                endpoints.MapControllers();
                endpoints.MapRazorPages();
                endpoints.MapBlazorHub();
            });
        }
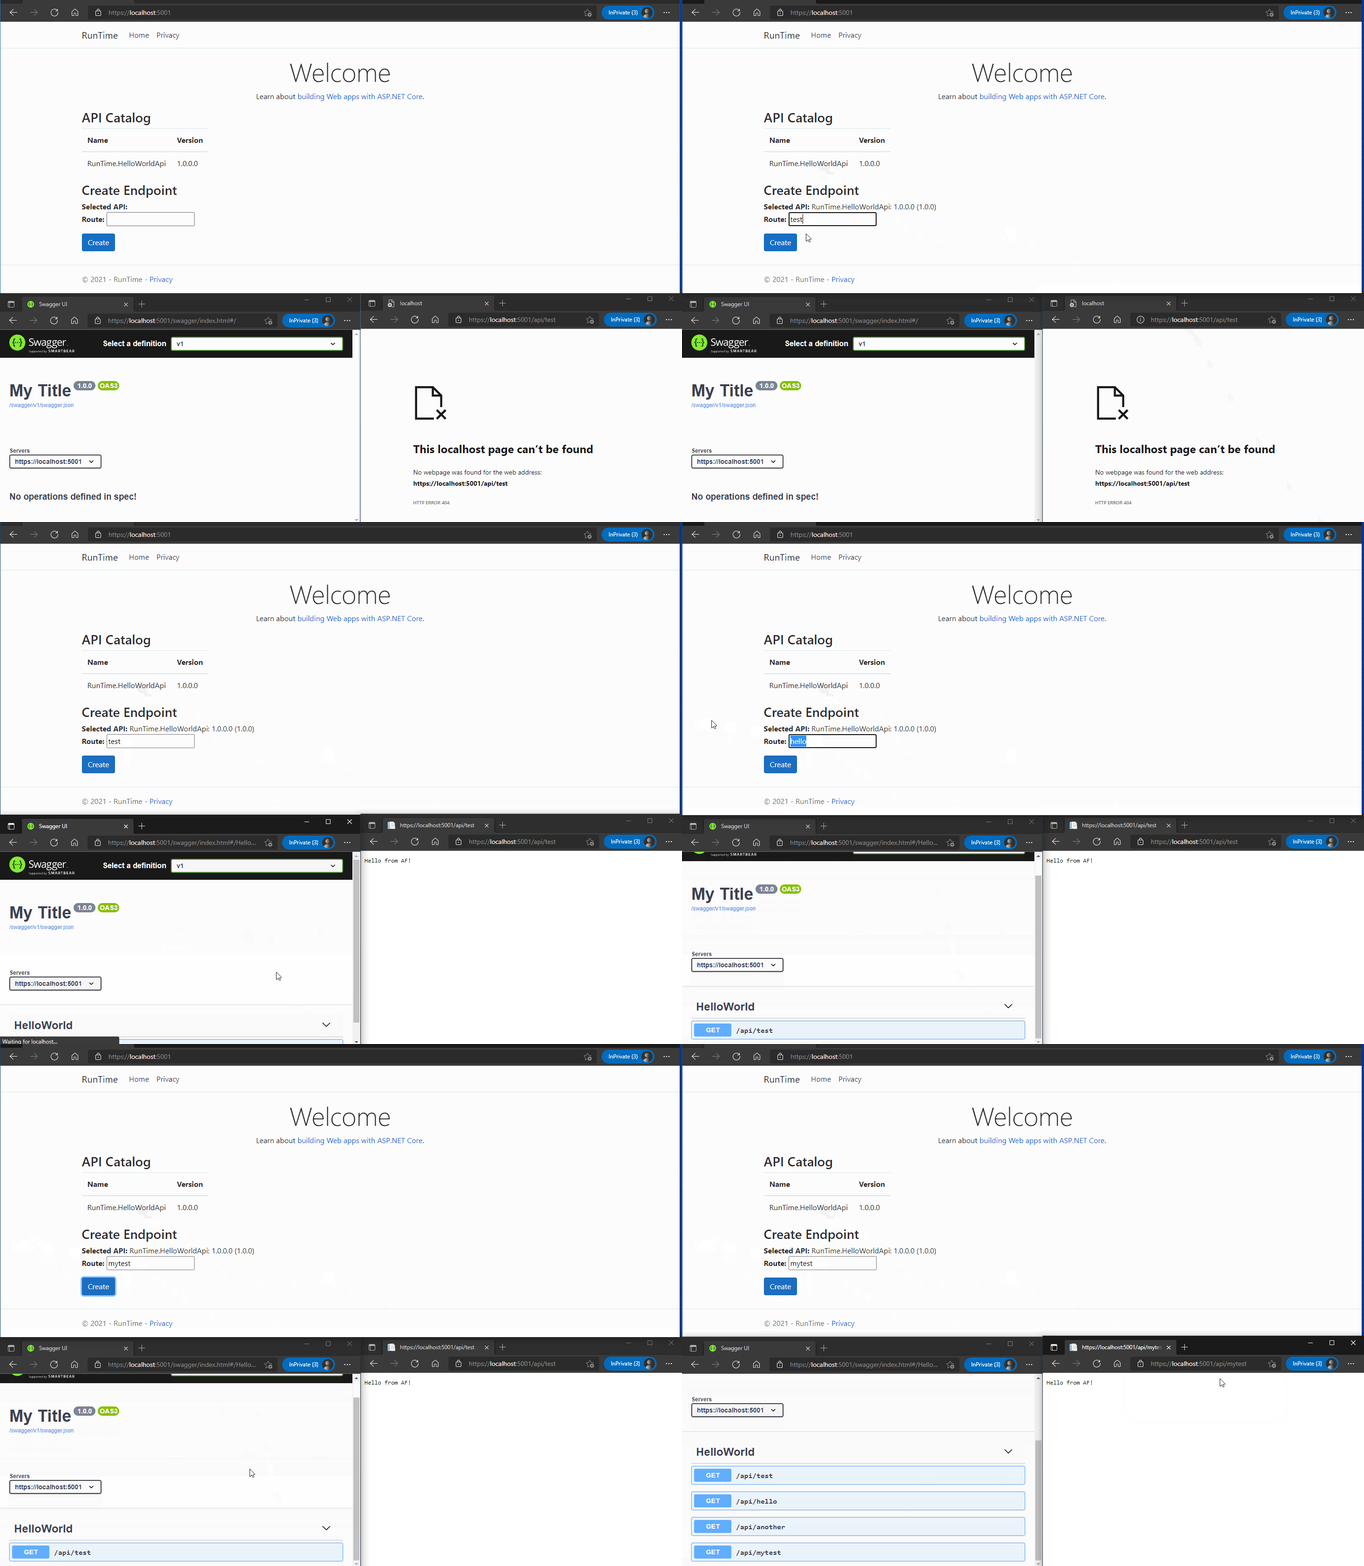
Now when we run the app, we shouldn’t see any obvious changes:

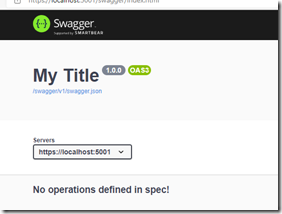
But if we navigate to /swagger, we should see all the endpoints provided by our app, which is none at this moment:
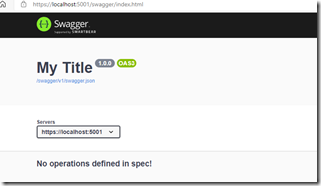
Now that we have the AF running, it’s time to build API.
2. Building an API
API in API Framework is a reusable component with a name, a version and the specific functionality the API provides. APIs can be build using plain C# or using tools like delegates, Roslyn scripts and more. The APIs are often redistributed as Nuget packages.
Let’s build the simplest API: The classic Hello World. We can use C# to build the API and the API is just a POCO, there’s no need to add routes or HTTP methods:
    public class HelloWorldApi
    {
        public string SayHello()
        {
            return "Hello from AF!";
        }
    }
And that’s it. Now, in AF an API itself is not accessible using HTTP. Instead, we can create 1 or many endpointsfrom the API. These endpoints can then be accessed using HTTP. In this blog we want to create an UI which can be used to create these endpoints runtime.
If we now run the application, nothing has changed as we haven’t created any endpoints.
API Framework keeps a catalog of available APIs. This means that we have to either register the APIs manually (using code or configuration) or we can let AF to auto register the APIs based on conventions. In this tutorial we can let AF to auto register the APIs and this can be turned on using the options:
            services.AddApiFramework(options =>
            {
                options.AutoResolveApis = true;
            });
Now we are in a good position. We have an API and we have registered it into AF’s API Catalog (or rather, we have let AF register it automatically). As we still haven’t created any endpoints, running the app doesn’t provide any new functionality.
The next step is to build the Blazor component for creating endpoints runtime.
3. Creating the UI
We have the AF configured and the first API ready and waiting so it’s time to build the UI which can be used to add endpoints runtime.
We start by creating an UI which lists all the APIs in AF’s API catalog. For this we need a new Blazor-component which we call EndpointManagement.razor:
<h3>API Catalog</h3>

@code {

}
API Catalog is browsable using the IApiProvider-interface. Here’s a component which gets all the APIs and creates a HTML table of them:
@using Weikio.ApiFramework.Abstractions

<h3>API Catalog</h3>

<table class="table table-responsive table-striped">
    <thead>
    <tr>
        <th>Name</th>
        <th>Version</th>
    </tr>
    </thead>
    <tbody>
    @foreach (var api in ApiProvider.List())
    {
        <tr>
            <td>@api.Name</td>
            <td>@api.Version</td>
        </tr>
    }
    </tbody>
</table>

@code {

    [Inject]
    IApiProvider ApiProvider { get; set; }

    protected override void OnInitialized()
    {
        base.OnInitialized();
    }

}
And now we can add the component to Index.cshtml:
@page
@model IndexModel
@{
    ViewData["Title"] = "Home page";
}

<div class="text-center">
    <h1 class="display-4">Welcome</h1>
    <p>Learn about <a href="https://docs.microsoft.com/aspnet/core">building Web apps with ASP.NET Core</a>.</p>
</div>

<component type="typeof(EndpointManagement)" render-mode="ServerPrerendered" />
And finally we have something new visible to show. Run the app and… the API Catalog table is empty:
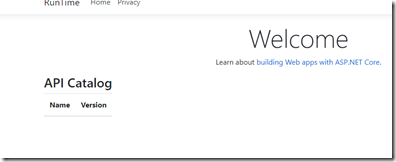
The reason for this is that the API Catalog is initialized in a background thread. AF supports dynamically created APIs and it sometimes can take minutes to create these so by default, AF does things on background.
F5 should fix the situation:
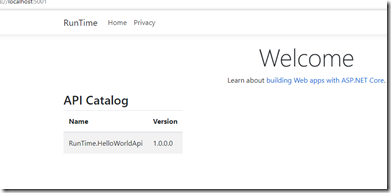
And there we have it, a catalog of APIs. If we at this point navigate to /swagger we can see that the list is still empty as we haven’t created any endpoints from the API:
Let’s fix that and add the required UI for listing and creating the endpoints. For that we need IEndpointManager:
    [Inject]
    IEndpointManager EndpointManager { get; set; }
UI should be simple: user can select the API by clicking the row and then she can enter the route to the endpoint & click Create.
For this we add couple new properties to the component:
    ApiDefinition SelectedApi { get; set; }
    string EndpointRoute { get; set; }
And then a really simple UI which can be used to create the endpoint:
<h3>Create Endpoint</h3>
<strong>Selected API: </strong> @SelectedApi <br/>
<strong>Route: </strong><input @bind="EndpointRoute"/><br/>
<div class="mt-3"></div>
<button class="btn btn-primary" @onclick="Create">Create</button>
Finally, all that is left is the implementation of the Create-method. Creating an endpoint in runtime takes couple of things:
- First we need to define the endpoint. The endpoint always contains the route and the API but it also can contain configuration. This means that we could create a configurable API and then create multiple endpoints from that single API, each having a different configuration.
- Then we need to provide the new endpoint definition to the IEndpointManager.
- Finally we tell IEndpointManager to Update. This makes the new endpoint accessible. This way it is possible to first add multiple endpoints and then with a single Update call make them all visible at the same time.
Here’s how we can define the endpoint:
var endpoint = new EndpointDefinition(EndpointRoute, SelectedApi);
Then we can use CreateAndAdd method to actually the create the endpoint using the definition and to add it into the system with a single call:
EndpointManager.CreateAndAdd(endpoint);
And now we just ask EndpointManager to update itself. At this point it goes through all the endpoints and initializes the new ones and updates the changed ones:
EndpointManager.Update();
Here’s the full Create-method:
    private void Create()
    {
        var endpoint = new EndpointDefinition(EndpointRoute, SelectedApi);

        EndpointManager.CreateAndAdd(endpoint);

        EndpointManager.Update();
    }
And here’s what we see when we run the app:
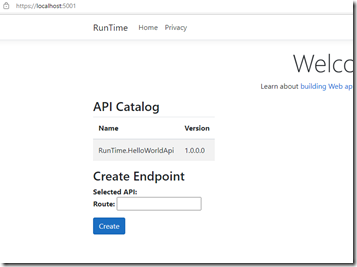
Now we can actually test if our setup works. Click the API from API Catalog, then provide route (for example /test) and finally click Create.
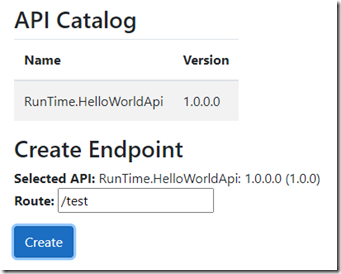
Maybe something happened, even though our UI doesn’t give any feedback. Navigating to /api/test should tell us more… And there it is!

Now if we check /swagger we should see the new endpoint:
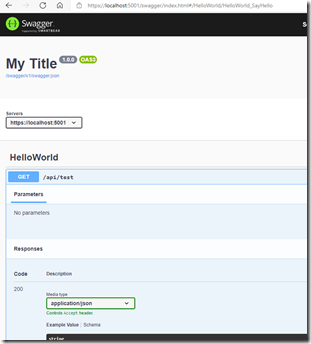
Excellent. Try adding couple more endpoints, like /hello and /world and make sure things work as expected:
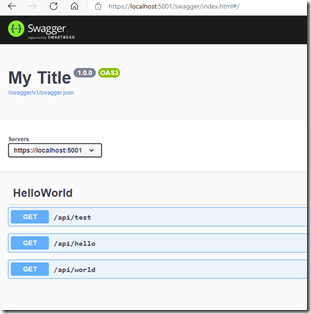
That’s it. We now have an ASP.NET Core backend which can be modified runtime.
If you wonder why the endpoint is available form /api/test and not from /test, it is because the AF by default uses the /api prefix for all the endpoints. This can be configured using options.
Conclusion
In this blog we modified an ASP.NET Core 3.1 based application so that it supports runtime changes. Through these runtime changes we can add new endpoints without having to rebuild or to restart the app. The code is available from https://github.com/weikio/ApiFramework.Samples/tree/main/misc/RunTime.
This blog works more as an introduction to the subject as we used only one API and that was the simplest possible, the Hello World. But we will expand from this and here’s some ideas of things to explore, all supported by API Framework:
- Removing an endpoint runtime
- Creating endpoints from an API which requires configuration
- Listing endpoints
- Viewing endpoint’s status
- Creating the APIs (not endpoints) runtime using C#
- Creating an endpoint runtime from an API distributed as a Nuget package.
To read more about API Framework, please visit the project’s home pages at https://weik.io/apiframework. The AF’s source code is available from GitHub and documentation can be found from https://docs.weik.io/apiframework/.

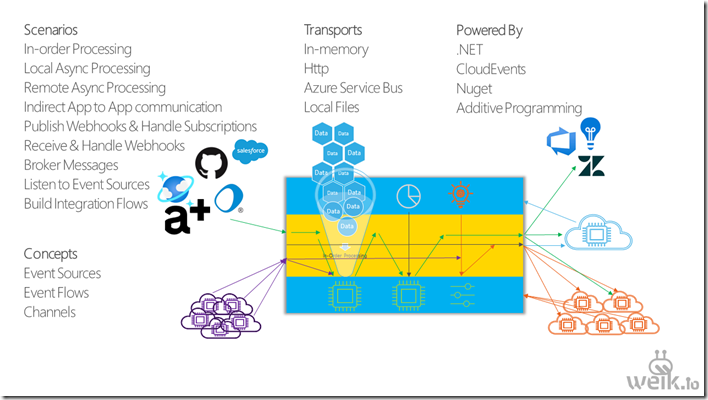


 API Framework is a new open source project (Apache License 2.0) for ASP.NET Core with the aim of bringing more flexibility and more options to building ASP.NET Core based OpenAPI backends. With API Framework your code and your resourcesbecome the OpenAPI endpoints.