Aurelia and UWP - Part 1: Getting Started
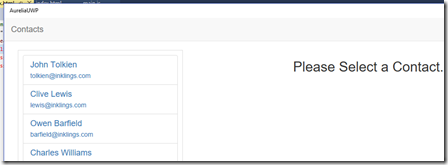
 Lately we’ve been writing some apps using Aurelia. Aurelia isn’t the only Javascript framework out there but it’s easily the most productive we have encountered. For someone who has been writing XAML/C# apps for the last seven years or so, Aurelia is the first platform which gives us the same kind of a feeling of productivity as the XAML/C#.
Some of the apps we’ve been building have been such that it would be great if we could release them to the Windows Store. Here’s a step-by-step tutorial on how to package the Aurelia app as an UWP app.
Requirements
Before starting, make sure that you have aurelia-cli up and running. For sample app we can use Aurelia’s “official” todo example app. You can get it from GitHub.
1. Create new UWP app
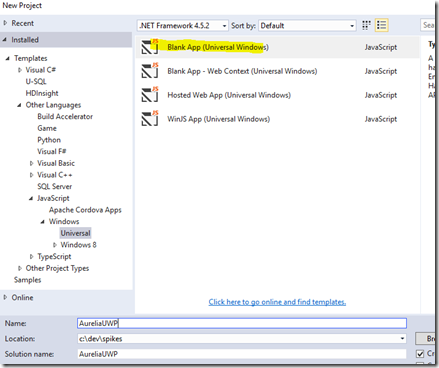
First, let’s create a new UWP app using the “Blank App (Universal Windows)” template:
2. Copy the Aurelia app inside the UWP app’s folder
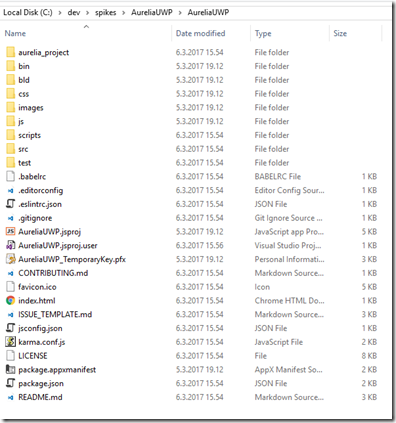
Now get your Aurelia app or the todo-example app and copy its source code inside the UWP app’s root folder. This should override the default index.html and your folder should now look like the following:
3. Build Aurelia app
Next step is to build the Aurelia app. If you’ve just copied the example app from GitHub, you must first install its dependencies:
npm install
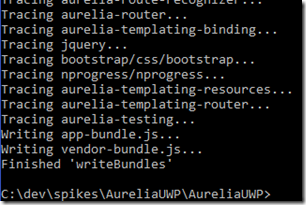
When you have the dependencies installed, build the app using aurelia-cli:
au build
4. Include required files in Visual Studio
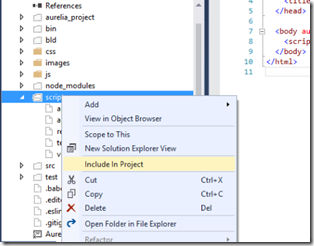
Last step is to include the required files using Visual Studio. Select “scripts” folder and “Include in project”:
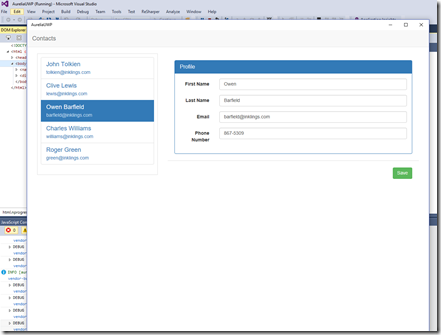
And you’re all set! Just use F5 to run the app:
Conclusion
This tutorial showed you how to “port” Aurelia app to an UWP app.
The source code is available from GitHub.
When you start using the app, you’ll quite likely notice a big problem quickly: There’s no back-button. The part 2 of this series shows how you can add the standard back-button, allowing desktop users to navigate back in your Aurelia app.
