Azure Blob Bridge for IFTTT: Step-by-Step Guide
 Azure Blob Bridge for IFTTT provides an easy way to use Azure Blob storage as a IFTTT output Channel (action). For introduction of the project, you can read the Azure Blob Bridge for IFTTT: Introduction.
This post includes a step-by-step guide for using Azure Blob Bridge for IFTTT. The guide is split in two parts:
- Deploying Azure Blob Bridge for IFTTT
- Creating a IFTTT recipe using the Maker Channel
By following this tutorial you will connect the BBC’s RSSwith your Azure Blob Storage.
TL;DR
- Deploy Azure Blob Bridge for IFTTT using the Deploy to Azure button: https://github.com/mikoskinen/AzureBlobBridgeIFTTT
- Use IFTTT’s Maker Channel to POST to bridge
Requirements
You need the following things to work through this tutorial:
- Working Azure subscription
- Azure Storage account
- IFTTT Account connected to the Maker Channel
Deploying Azure Blob Bridge for IFTTT
The goal for Azure Blob Bridge for IFTTT’s deployment process is to be as simple as possible. The steps include:
- Visit the bridge’s home page at GitHub: https://github.com/mikoskinen/AzureBlobBridgeIFTTT
- Click the “Deploy to Azure” Button
- Configure the required settings
- Click Next
- Click Deploy
- All set
1. Open the Azure Blob Bridge site
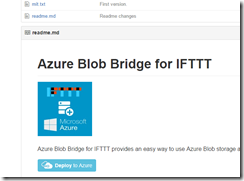
Visit https://github.com/mikoskinen/AzureBlobBridgeIFTTT with your browser:
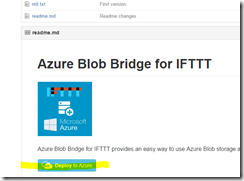
2. Click the Deploy to Azure button
3. Configure the required the settings
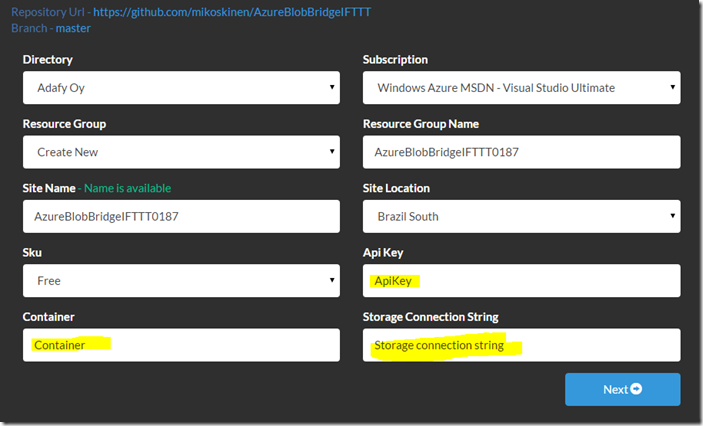
The hardest part is configuring the settings. The Deploy to Azure page contains three (3) settings which you must manually configure, others are automatically set by the site. The manually configured settings are highlighted here:
ApiKey decides how the bridge is reached. Example: ApiKey = "hello" -> Your API works through http://yourdomain.com/api/hello.
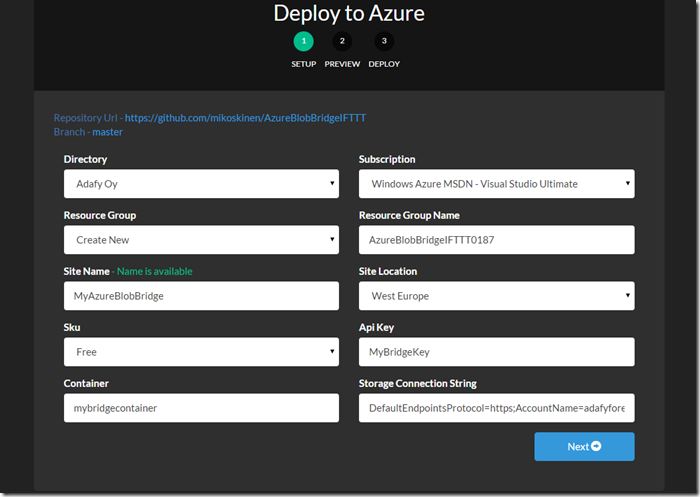
In this guide we will use MyBridgeKey.
Container is the name of your Azure Blob Storage container where the blobs will be stored. The container will be automatically created if it’s missing.
In this guide we will use mybridgecontainer. (note: you cannot use upper case character)
Storage Connection Stringis used to connect the bridge to your Azure Blob Storage. The connection string is available through Azure portal’s Storage Accounts blade. From Manage, click Keys and copy the Secondary connection string:
In this tutorial we will be deploying the Azure Blob Bridge for IFTTT to the West Europe, using the site name MyAzureBlobBridge. Our full configuration is shown here:
4. Click Next
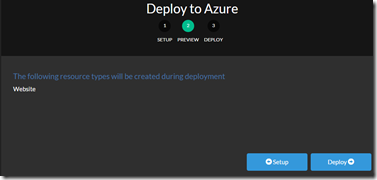
After clicking Next, the deploy site will show you that only a Website resource is created:
5. Click Deploy
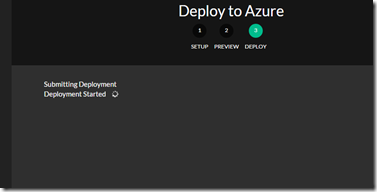
Select Deploy and wait the site to do it’s magic:
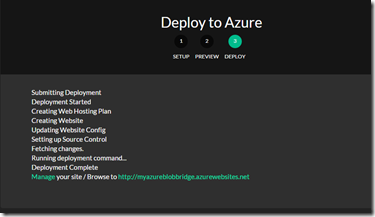
It should take less than a minute to complete:
6. All set
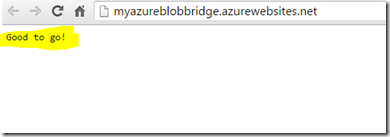
Deployment completed and shows you the Browse link. Click it to make sure that everything is working correctly. You should see text “Good to go!” if everything is up and running. If you see an error, make sure that the configuration is set correctly.
Now we have a working Azure Blob Bridge for IFTTT. It’s time to setup the IFTTT.
Other alternatives for deployment
If you don’t want to use the “Deploy to Azure” button, you can clone the repo, create the Azure Web Site manually, set Web.config for the required configuration and push your repo to site.
Creating a IFTTT recipe using the Maker Channel
IFTTT makes it easy to connect to our newly set Azure blob bridge. The steps include:
- Create a new recipe
- Configure the IF-part (source Channel / trigger)
- Configure the Then-part (output Channel / action)
1. Create a new recipe
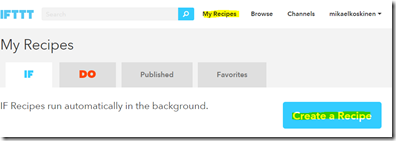
Start by selecting Create a Recipefrom My Recipes page:
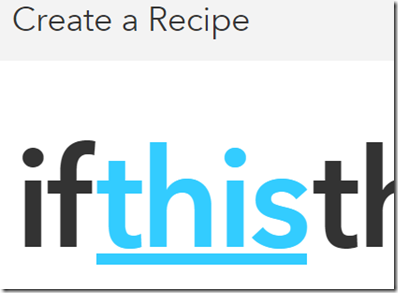
Click “this” to start configuration:
2. Configure the IF-part (source Channel / trigger)
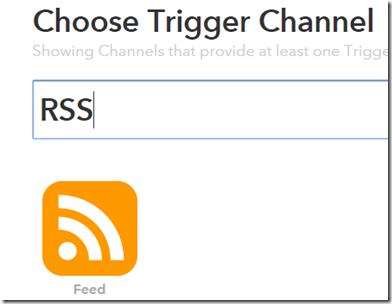
In this tutorial we will be using RSS Feed as a Trigger:
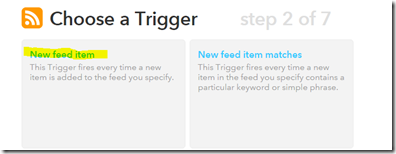
Select “Feed” and then click “New feed item”. This way the trigger is automatically run everytime a new item is posted into the RSS feed.
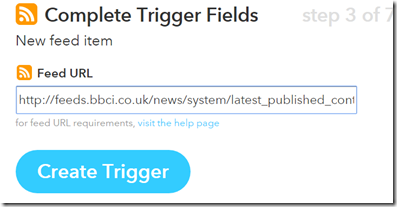
After selecting the “New feed item”, you must fill in your desired RSS source. For this tutorial we will be using BBC’s RSS feed as that gets updated quite often. Fill in the address: http://feeds.bbci.co.uk/news/system/latest_published_content/rss.xml
And finally select “Create Trigger”. You trigger is now ready.
3. Configure the Then-part (output Channel / action)
The trigger is now ready so it’s time to set the output channel or the action. Select “that” to continue:
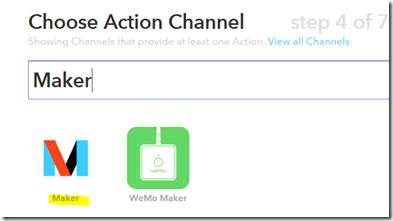
IFTTT lists all the available action channels. We will use Maker Channel to connect to our newly created Azure Blob Bridge.
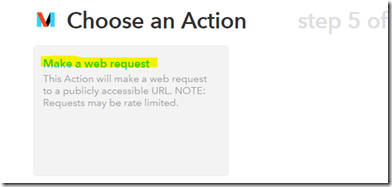
Select Maker. The “Make a web request” is the only available option so continue by selecting it:
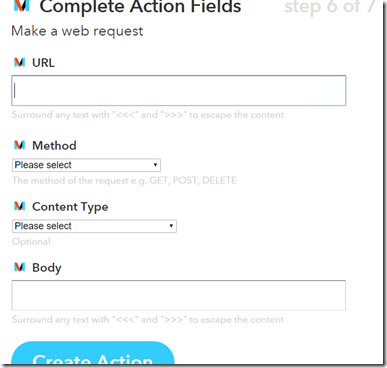
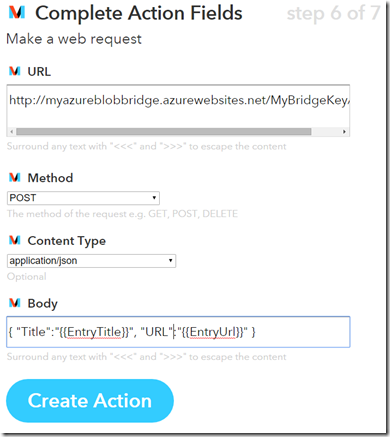
Now we must configure Maker so that it’s connected to our bridge.
In the first part of the tutorial, we published the Azure Blob Bridge for IFTTT to url http://myazureblobbridge.azurewebsites.net/ and we used the Api Key MyBridgeKey. This means that the bridge is available through URL http://myazureblobbridge.azurewebsites.net/api/MyBridgeKey/. Fill that in.
The bridge accepts POST requests, so select POST in Method.
We want to store the new items as JSON-files, so select application/json in Content Type.
Finally, the body is used to configure the content of the new Azure Blob. We want to store the URL and the Title of the news item. To save them in correct JSON-format, fill in the following text in Body:
{ "Title":"{{EntryTitle}}", "URL":"{{EntryUrl}}" }
The complete configuration is shown here:
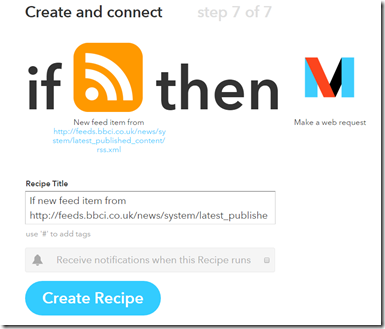
To finish the tutorial, select “Create Action” and then “Create Recipe”.
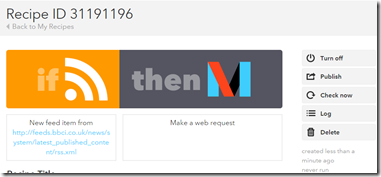
And you’re done!
Final Words
By following this tutorial you have connected the BBC’s RSS with your Azure Blob Storage. As the BBC feed is updated quite often, you should soon see new blobs in your Azure Blob storage. As an example, here’s the content of the blob 635859502521919728.dat, as created by the recipe:
{
	"Title": "Device 'goes off' at shopping centre",
	"URL": "http://www.bbc.co.uk/news/uk-england-lancashire-35122044#sa-ns_mchannel=rss&ns_source=PublicRSS20-sa"
}
Using RSS as a trigger is just a one example of how you can use Azure Blob Bridge for IFTTT. IFTTT contains more than 240 channels which now can be connected with the Azure Blob storage.
